All That Glitters
Think of fresh fallen snow, shimmery winter decor, candlelight, and twinkling lights. Each of these glittering things catches and gives off light in its own remarkable way. But capturing that sparkle in a photograph is a complicated feat. Either the object itself shows up blown-out from a flash, or it appears dark and almost gravely. So how do you capture that gorgeous, starburst sparkle?
Exposure and Aperture
When taking a photo of a light source (which is essentially what glitter is—it’s metal or some other shining material reflecting light), it will typically give you one of two different effects: glow or sparkle. Think of a sun setting on a lake. When you take the image, would you rather see the sun as an orb, glowing in the distance, or as a starburst, with sharp pointed edges? There is no right answer to that question; it depends on your preference.
So, if you’re looking for a warmer, glowing effect, you’ll want to shoot with your aperture wide open, meaning that the lens is letting more light in. To shoot wide open, your aperture should be set between f/1.2 to f/1.4 to get that blurry, sparkly effect. For the starburst sparkle, you will use a small aperture. It’s when your aperture is set at f/8 or smaller (f/8 to f/22+), you will start to see more defined lines in whatever it is that’s glittering.
You should also note that when you shoot with a smaller aperture, the image will show more contrast between the light source and any surrounding objects. When you shoot for a glow effect, the flare can sometimes wash out the other objects in the image.
Lastly, if you’re using your mobile to catch a quick photo, simply tap on the brightest part of the image to adjust the exposure. This will ensure that the subject of the photo isn’t blown out, nor is the glitter. Also, remember to wipe off your camera lens before shooting. It’s such a simple little task, but it really pays off.
Lighting
If you’re going to photograph something that sparkles, you’ll need to provide a light source off which the glitter can reflect. You might think the flash would provide the ideal light source, but unfortunately, it’s not that easy. In fact, to really capture that glitter, it’s best not to use the flash. Instead, you will want to use an additional light source, like a softbox, or even an LED flashlight would work. Whatever can produce harsh, directional light (yes, this includes natural light by setting up near a window) will be most useful when shooting shining objects.
But what if you want to capture a puff of snow or the popular glitter toss? The absolute best option for lighting in this context is to light the puff or cloud of glitter from behind. While lighting from behind, you should also use a softbox or LED light from the front to achieve that reflective effect.
Photographer Robert Olding gives an example of why it’s important to backlight when shooting things that glitter:
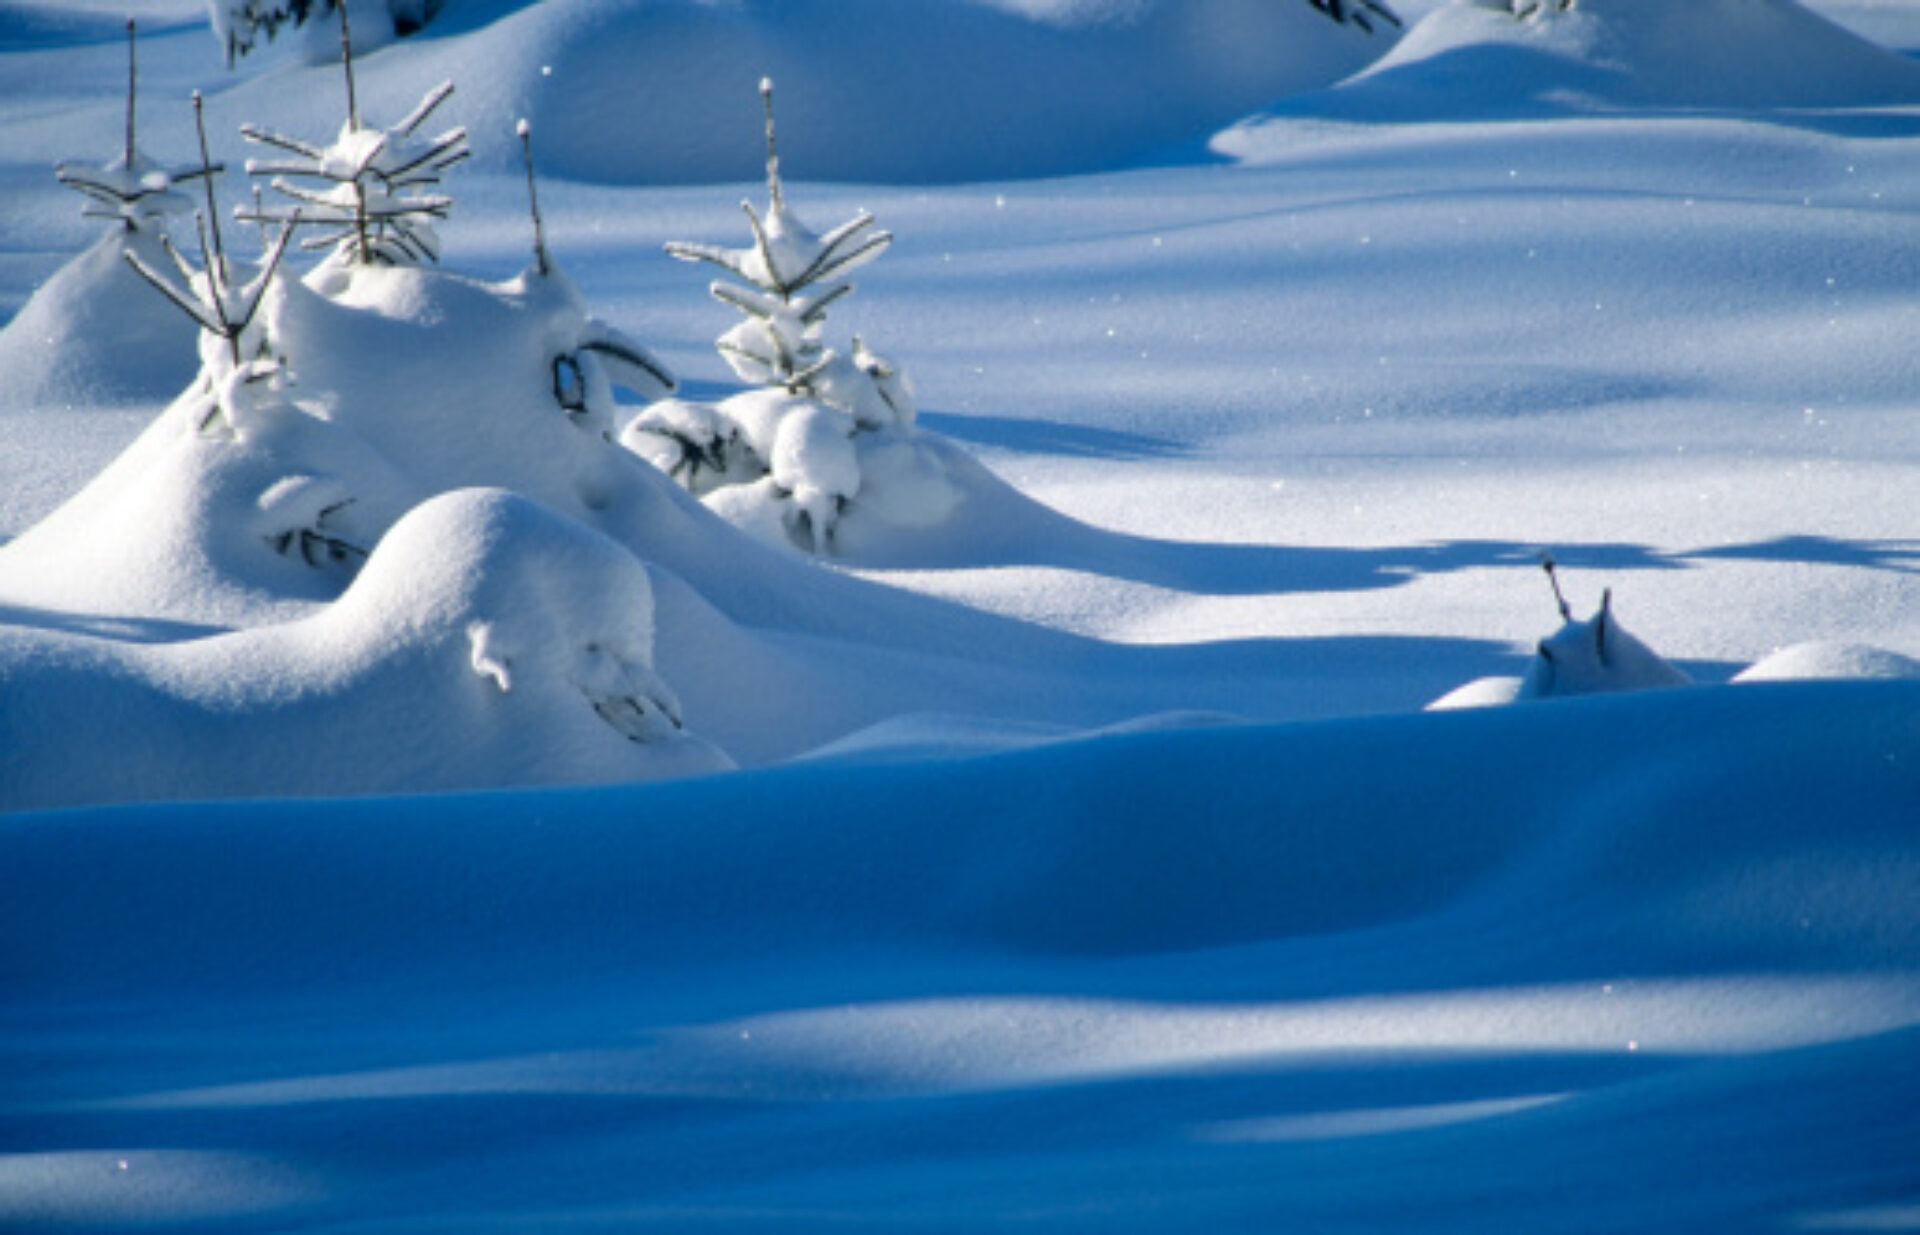
Think of yourself standing outside on a cold, clear morning. You see hoar frost in the trees, and a fresh blanket of snow coats the ground. Everything is…sparkling! The sparkle exists because of the dense texture of the frost and the snow, and the reflection of the sun bouncing off those textures. So, you would want to point your camera in the same direction as the sun to capture the rays of light on the snow and frost. Shooting away from the sun will still turn out a beautiful picture, but the sparkle will be dull, or even nonexistent.
Final Thoughts
When it comes to shooting things that shimmer, it’s really all about finding the perfect lighting and adjusting the aperture to your liking. Of course there are a million sparkling things to photograph in the wintertime, but remember these tips for the Fourth of July fireworks and sparklers, for the handfuls of confetti thrown in the air during wedding season, or anytime you see that glistening sunset over a lake or ocean.