Photographing Food
The time of year has come to make and capture holiday memories, whether it’s time spent with family, mornings spent marveling at fresh-fallen snow, or strolling through a city decked out in twinkling lights. Making these memories is one thing, but the ability to encapsulate them is another.
Making these memories is one thing, but the ability to encapsulate them is another. That’s why we’ve whipped together some helpful tips to combat some of the most common issues a photographer might run into this time of year. In part one of our three-part series, we spoke to our Studio Eight photographer Robert Olding to find out how to properly photograph food, just in time for Thanksgiving!
Photographing food
When it comes to shooting food, the devil is in the details. That doesn’t mean that the food itself has to look perfect; instead, spend time focusing on the subtle details that viewers might not notice in the image, but will really tie everything together.
- Composition
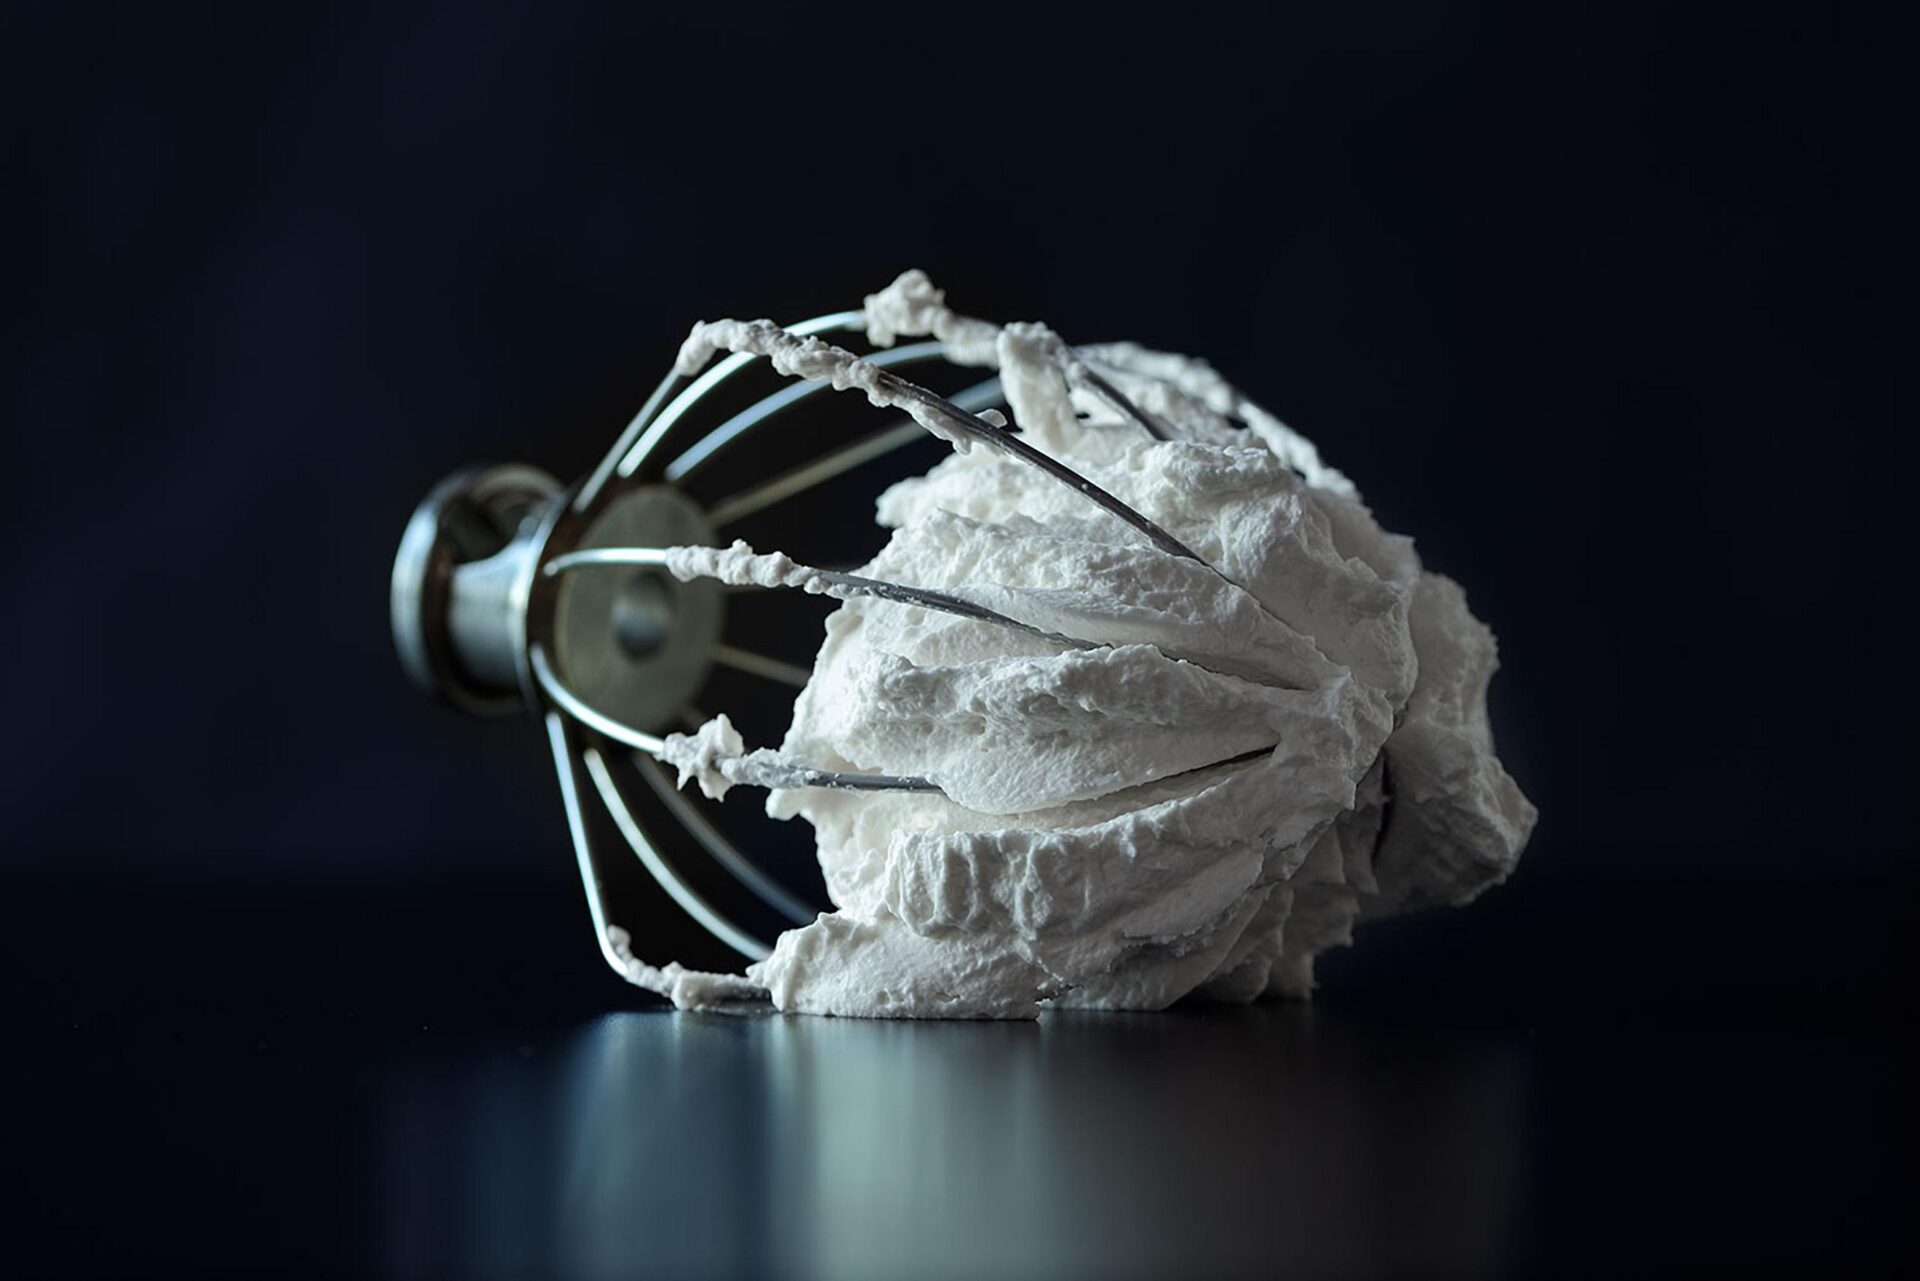
 We photograph food to entice viewers, to make them crave whatever it is we have. While the food does need to look delightful, background colors, textures, and props are almost as important as the star of the photo. Robert encourages photographers to be bold. Using a few contrasting colors, and a couple of bold textures that compliment the food itself. Oftentimes less is more, but that doesn’t mean you can’t be bold. Play around with the composition to find the perfect balance.
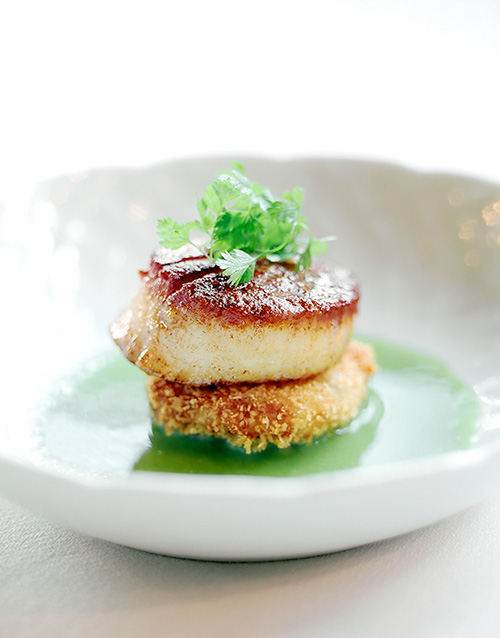
If the food itself features many colors, textures, and dimensions, you may want to consider using a neutral color palette for your dishes, napkins, cutlery, and tablecloth (if used). This doesn’t always mean white on white on white, but light colored props will make your food really pop in the image.
But, let’s say you’re taking a photo of something light—a stack of pancakes, or even a bright, colorful salad. These foods would show up just as well, if not better, using dark dishes, linens, and background textures. If you do choose to use dark props, it’s best to use natural back or side-lighting, and not overhead or artificial light. Natural light will help the dish glow, rather than make the image look blown out, or over exposed.
- Make it approachable
Next, think about how the characteristics of the food itself can make it more approachable. This means leaving behind a few crumbs on the tablecloth, frothing hot cocoa so it spills over the side of the mug, tossing a napkin next to the dish, or digging a fork into that flaky holiday pie. This method makes the food look tastier in the image, and it also reminds others that food isn’t supposed to be perfect. This approach might even encourage viewers to try your recipe, or take their own holiday food photos.
Another trick to make your dish look more approachable is to put a little action into the food. As you slice a ham, fold the pieces over each other so you can see the color inside. Or let the ice cream melt over a piece of berry pie and snap the photo when it’s about to drip down the side. Putting action into your food makes it more relatable—and makes it look more scrumptious—to the viewer. However, you should remember that there is a time and place for both relatable, approachable food, and a more formal composition.
- Angle
As I’m sure you can imagine, the angle depends entirely on the construction of your dish. You should be able to tell right away which angle is more impressive. And if the entire piece is photo-worthy, take the image from a few different angles.
 For example, you wouldn’t want to shoot a photo of a cheeseburger or a tiered cake from above when shooting from the side or from a three-quarter angle is so much more remarkable. But maybe the tiered cake features delicate, buttercream rosettes nestled into the top tier. In that case, you should certainly take images from the top to capture the details, just don’t forget to snap from a three-quarter angle where the cake looks its best.
Likewise, if you’re shooting something like sushi, or even roast beef and mashed potatoes, the view from above the plate might be more important. In that case, start with your camera directly above the dish, and as you snap some photos, gradually angle your camera down toward the side of the meal, making sure to grab a few quick shots as you work your way down.
Finally, remember that photography is a very dynamic art form. As Robert explained, photographs provide viewers with a sense of place—whether it evokes a feeling of warmth and holiday tradition, or cold winter weather. Shooting at a lower, or three-quarter angle allows you to capture some of the surroundings, which will stir the viewers’ senses.
- Lighting and Flash
Whether using mobile or DSLR, the best way to ensure that the colors and textures come out true and vibrant is to take photos near natural light. This means setting your spread near a window that provides directional, somewhat harsh light so it really illuminates the dish. Backlit or side-lit subjects will serve you well in this case. When the dish is back or side-lit, the shadows and highlights will really bring your food to life.
When deciding whether or not to use the flash, it’s best to try to avoid it. The flash is simply too harsh for food photography, and your meal will likely look blown out and over-exposed. That said, there are ways to use your flash in a non-direct way. When shooting with a DSLR, point the flash at the ceiling so the light bounces off the white ceiling and diffuses over the food. This will light the food as the photo is taken, but it won’t be nearly as harsh or over-exposed.
Lastly, if you’re taking shots of your holiday dinner, it’s bound to be dark outside. In this case, use the tip I mentioned first about diffused light. When using a mobile device, this can be accomplished by placing a small piece of tissue or thin, white paper over your flash. This ensures that the flash isn’t too intense. You can also take the photo using a soft, sometimes indirect light source from above. This can be the overhead light on your stove (direct), or you can bounce a flashlight off the ceiling instead of a flash (indirect).
Final Thought
These are just a few tips to get you started on taking some fun, dynamic, and well-composed holiday photos. But in the end, the best tip we can share is a reminder to practice. While the tips above will help turn out some great photos, it’s all about training your eye to find the best composition, light, and angle for your subject. So continue practicing as often as possible, and we’ll continue to share best practices in this three-part, holiday series!